
- Published on
🖥️ Run Your Own Cloud — Apps, Sites, Services in Minutes
- Authors

- Name
- Devin Reeks
Spinning up CapRover locally
Title: Run CapRover in a linux vm on a mac mini! in the cloud, or any box you have lying around :)
Author: Devin Reeks
Language: English
The power of CapRover
✅ CapRover can be used to run a private cloud
Install apps like Nextcloud, Vaultwarden, PhotoPrism, Calibre, etc.
You're essentially building a private alternative to Google Workspace, Dropbox, iCloud, etc.
💪 But CapRover is more than that:
⚙️ App hosting platform – run full-stack apps, APIs, websites
🚀 One-click apps – instant deployment of 100+ prebuilt apps
🔄 CI/CD-ready – deploy from GitHub, GitLab, or Docker builds
📦 Docker under the hood – advanced users can customize anything / standard users can deploy pre-built applications
🔧 Load balancing & scaling – baked in with Docker Swarm
Scared, sick or tired of paying those AWS bills? Ever pushed a full stack application to vercel? https://vercel.com/ and wondered: "Gee I hope I don't get pwn'd by bots?"
Why not self host? I don't mean localhost. I mean full blown:
https://<my-app-name>.<my-custom-domain-name>.com
For this we can use CapRover.
CapRover is like having your own mini-Heroku or AWS, but completely free and self-hosted! It's a Platform as a Service (PaaS) that makes deploying and managing your applications super stupid simple.
There are two options for hosting CapRover
🔵 1. In the cloud.
https://caprover.com/docs/get-started.html
🔴 2. Locally.
Option 2 is a bit more complex but worth it if you have a mac mini, or spare box lying around. This 8 step tutorial will be done on a mac, however, much of it is still applicable on other platforms.
Minimum specs:
🍪 CPU Architecture: CapRover source code is compatible with any CPU architecture and the Docker build available on Docker Hub is built for AMD64 (X86), ARM64, and ARMV7 CPUs.
🤖 Recommended Stack: CapRover is tested on Ubuntu 22.04 and Docker 19.03. If you're using CapRover on a different OS, you might want to look at Docker Docs.
🐧 Ubuntu 24.04: This version has been tested by multiple people and there seems to be no known issues with this version.
🧠 Minimum RAM: Note that the build process sometimes consumes too much RAM, and 512MB RAM might not be enough (see this issue). Most providers offer a minimum of 1GB RAM on $5 instance including DigitalOcean, Vultr, Scaleway, Linode, SSD Nodes and etc.
So I ask you
Tools you will need
Macos
- orbstack (to run a linux VM) download here:
https://orbstack.dev/download
Windows
- virtual box (to run a linux VM) download here:
https://www.virtualbox.org/
All platforms
- Cloudflare CLI instructions for installation found here:
https://developers.cloudflare.com/cloudflare-one/tutorials/cli/
Step one on Macos
Setup a linux vm: 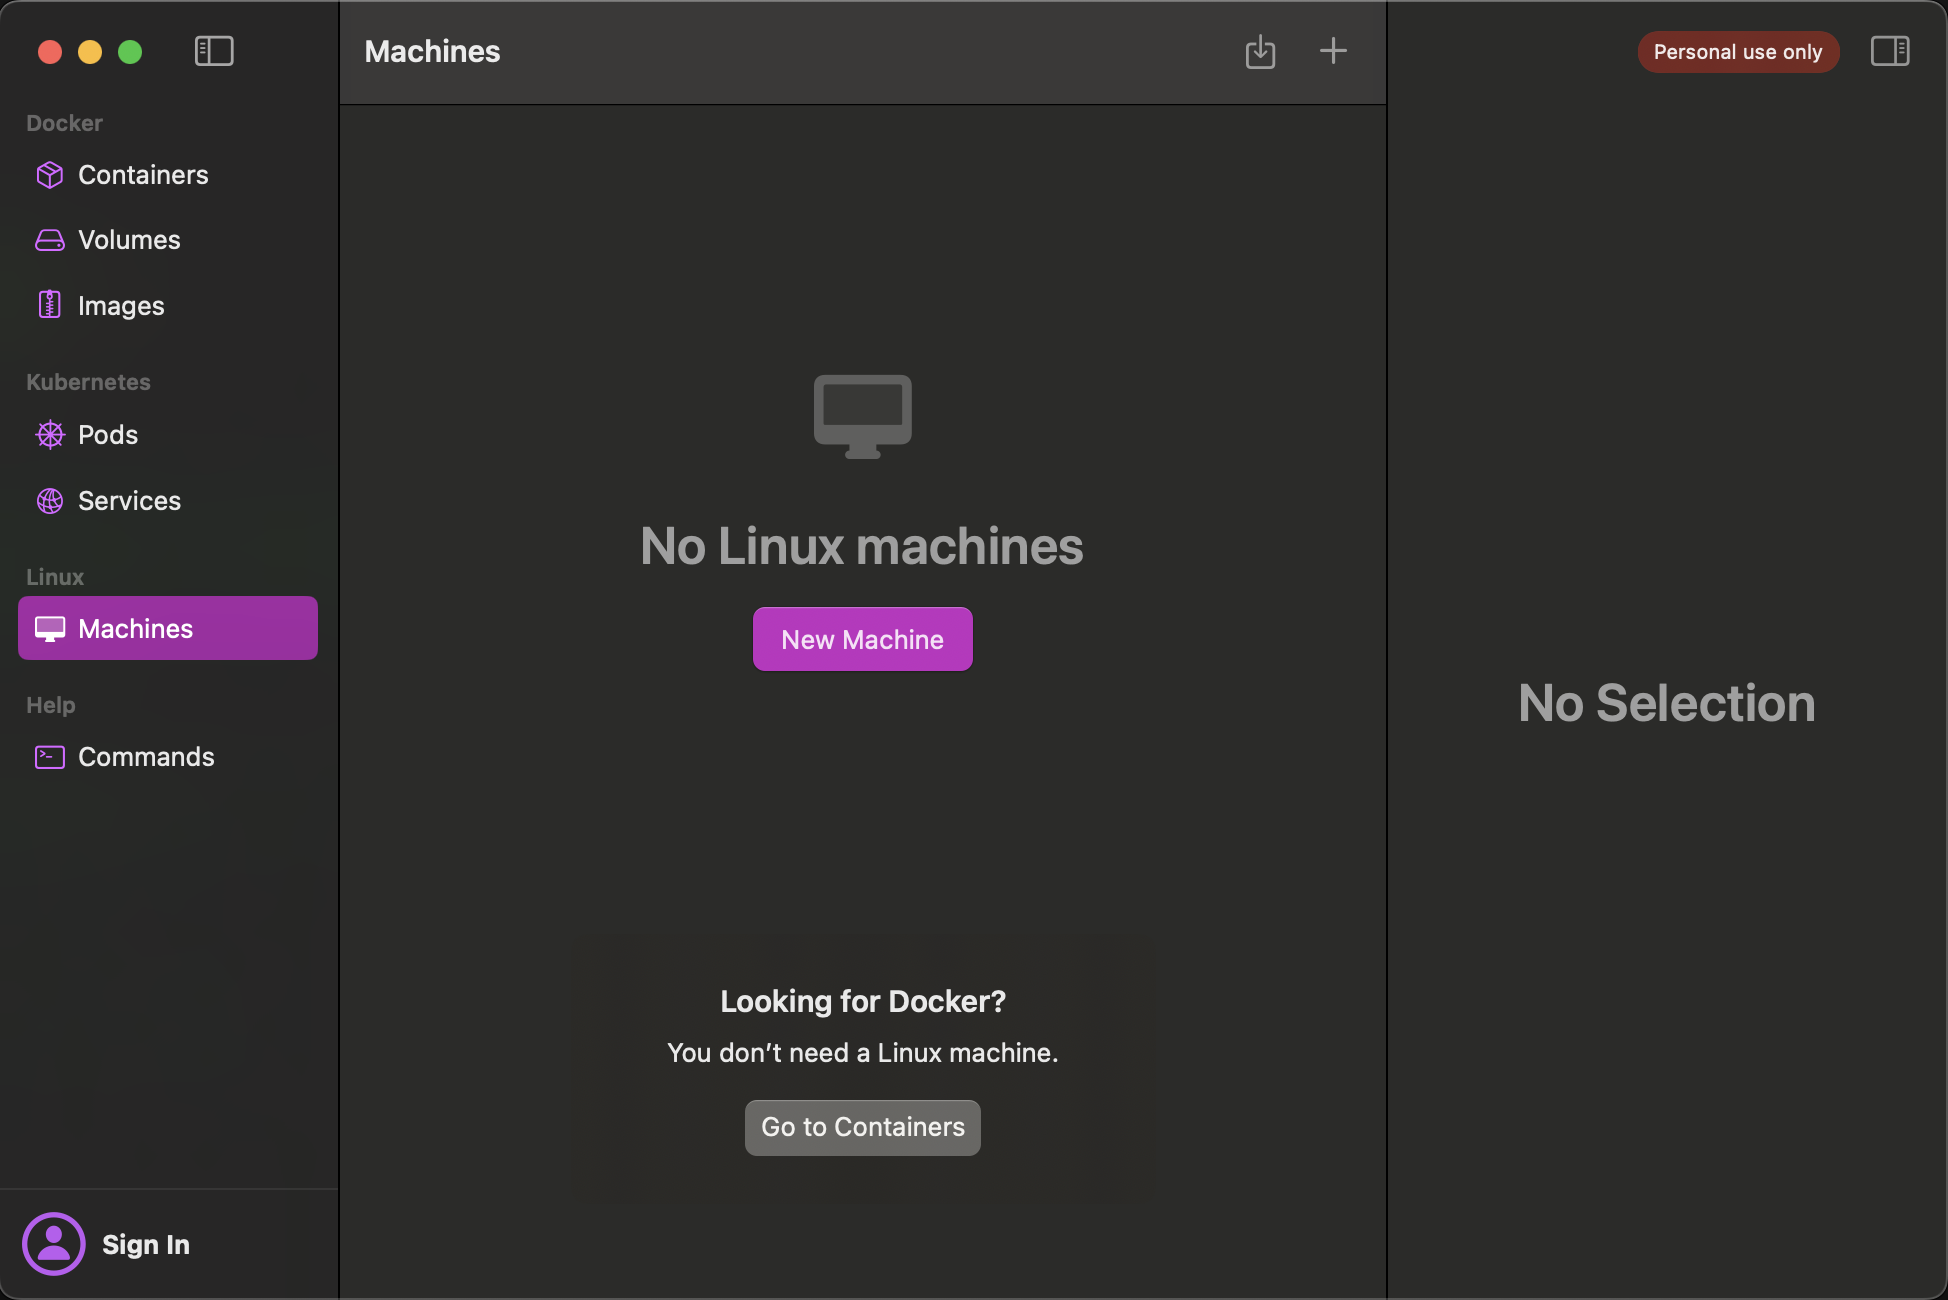
Step two - SSH/Open a terminal inside the linux vm
Open a terminal or ssh into your new linux vm:
Step three - install docker on the vm
install this:
  curl -fsSL https://get.docker.com -o get-docker.sh
  sudo sh get-docker.sh
  sudo systemctl enable docker
  sudo systemctl start docker
Step four - make a volume on the vm
This step is so we can persist data if and when the host machine is restarted. This step is crucial! We want CapRover to remember the apps you install on it! We also want to skip verification of the app domains. This is because we will use a cloudflare tunnel to handle the https termination.
  sudo mkdir /captain
  echo  "{\"skipVerifyingDomains\":\"true\"}" >  /captain/data/config-override.json
Step five - install CapRover inside the linux vm
  sudo docker run -e MAIN_NODE_IP_ADDRESS=127.0.0.1 \
    -e ACCEPTED_TERMS=true \
    -v /var/run/docker.sock:/var/run/docker.sock \
    -v /captain:/captain \
    -p 80:80 -p 443:443 -p 3000:3000 \
    caprover/caprover
Line-by-line explanation of the above command
sudo docker run Runs a Docker container with elevated privileges. sudo ensures that the Docker daemon has the necessary permissions.
-e MAIN_NODE_IP_ADDRESS=127.0.0.1 Sets the environment variable MAIN_NODE_IP_ADDRESS to 127.0.0.1. This tells CapRover to use the local machine's IP address as the main node IP. This is particularly useful when running CapRover on a local machine without a public IP address.
-e ACCEPTED_TERMS=true Indicates that you accept CapRover's terms of service. This is required to proceed with the installation.
-v /var/run/docker.sock:/var/run/docker.sock Mounts the host's Docker socket into the container, allowing CapRover to manage Docker on the host system. This is essential for CapRover to deploy and manage applications.
-v /captain:/captain Mounts the /captain directory from the host into the container. This directory is used by CapRover to store persistent data, such as configurations and app data.
-p 80:80 -p 443:443 -p 3000:3000 Maps the container's ports to the host's ports:
80:80 maps HTTP traffic.
443:443 maps HTTPS traffic.
3000:3000 maps the CapRover web dashboard.
caprover/caprover Specifies the Docker image to use, in this case, the official CapRover image from Docker Hub.
Step six - Log in and immediately change administrator password
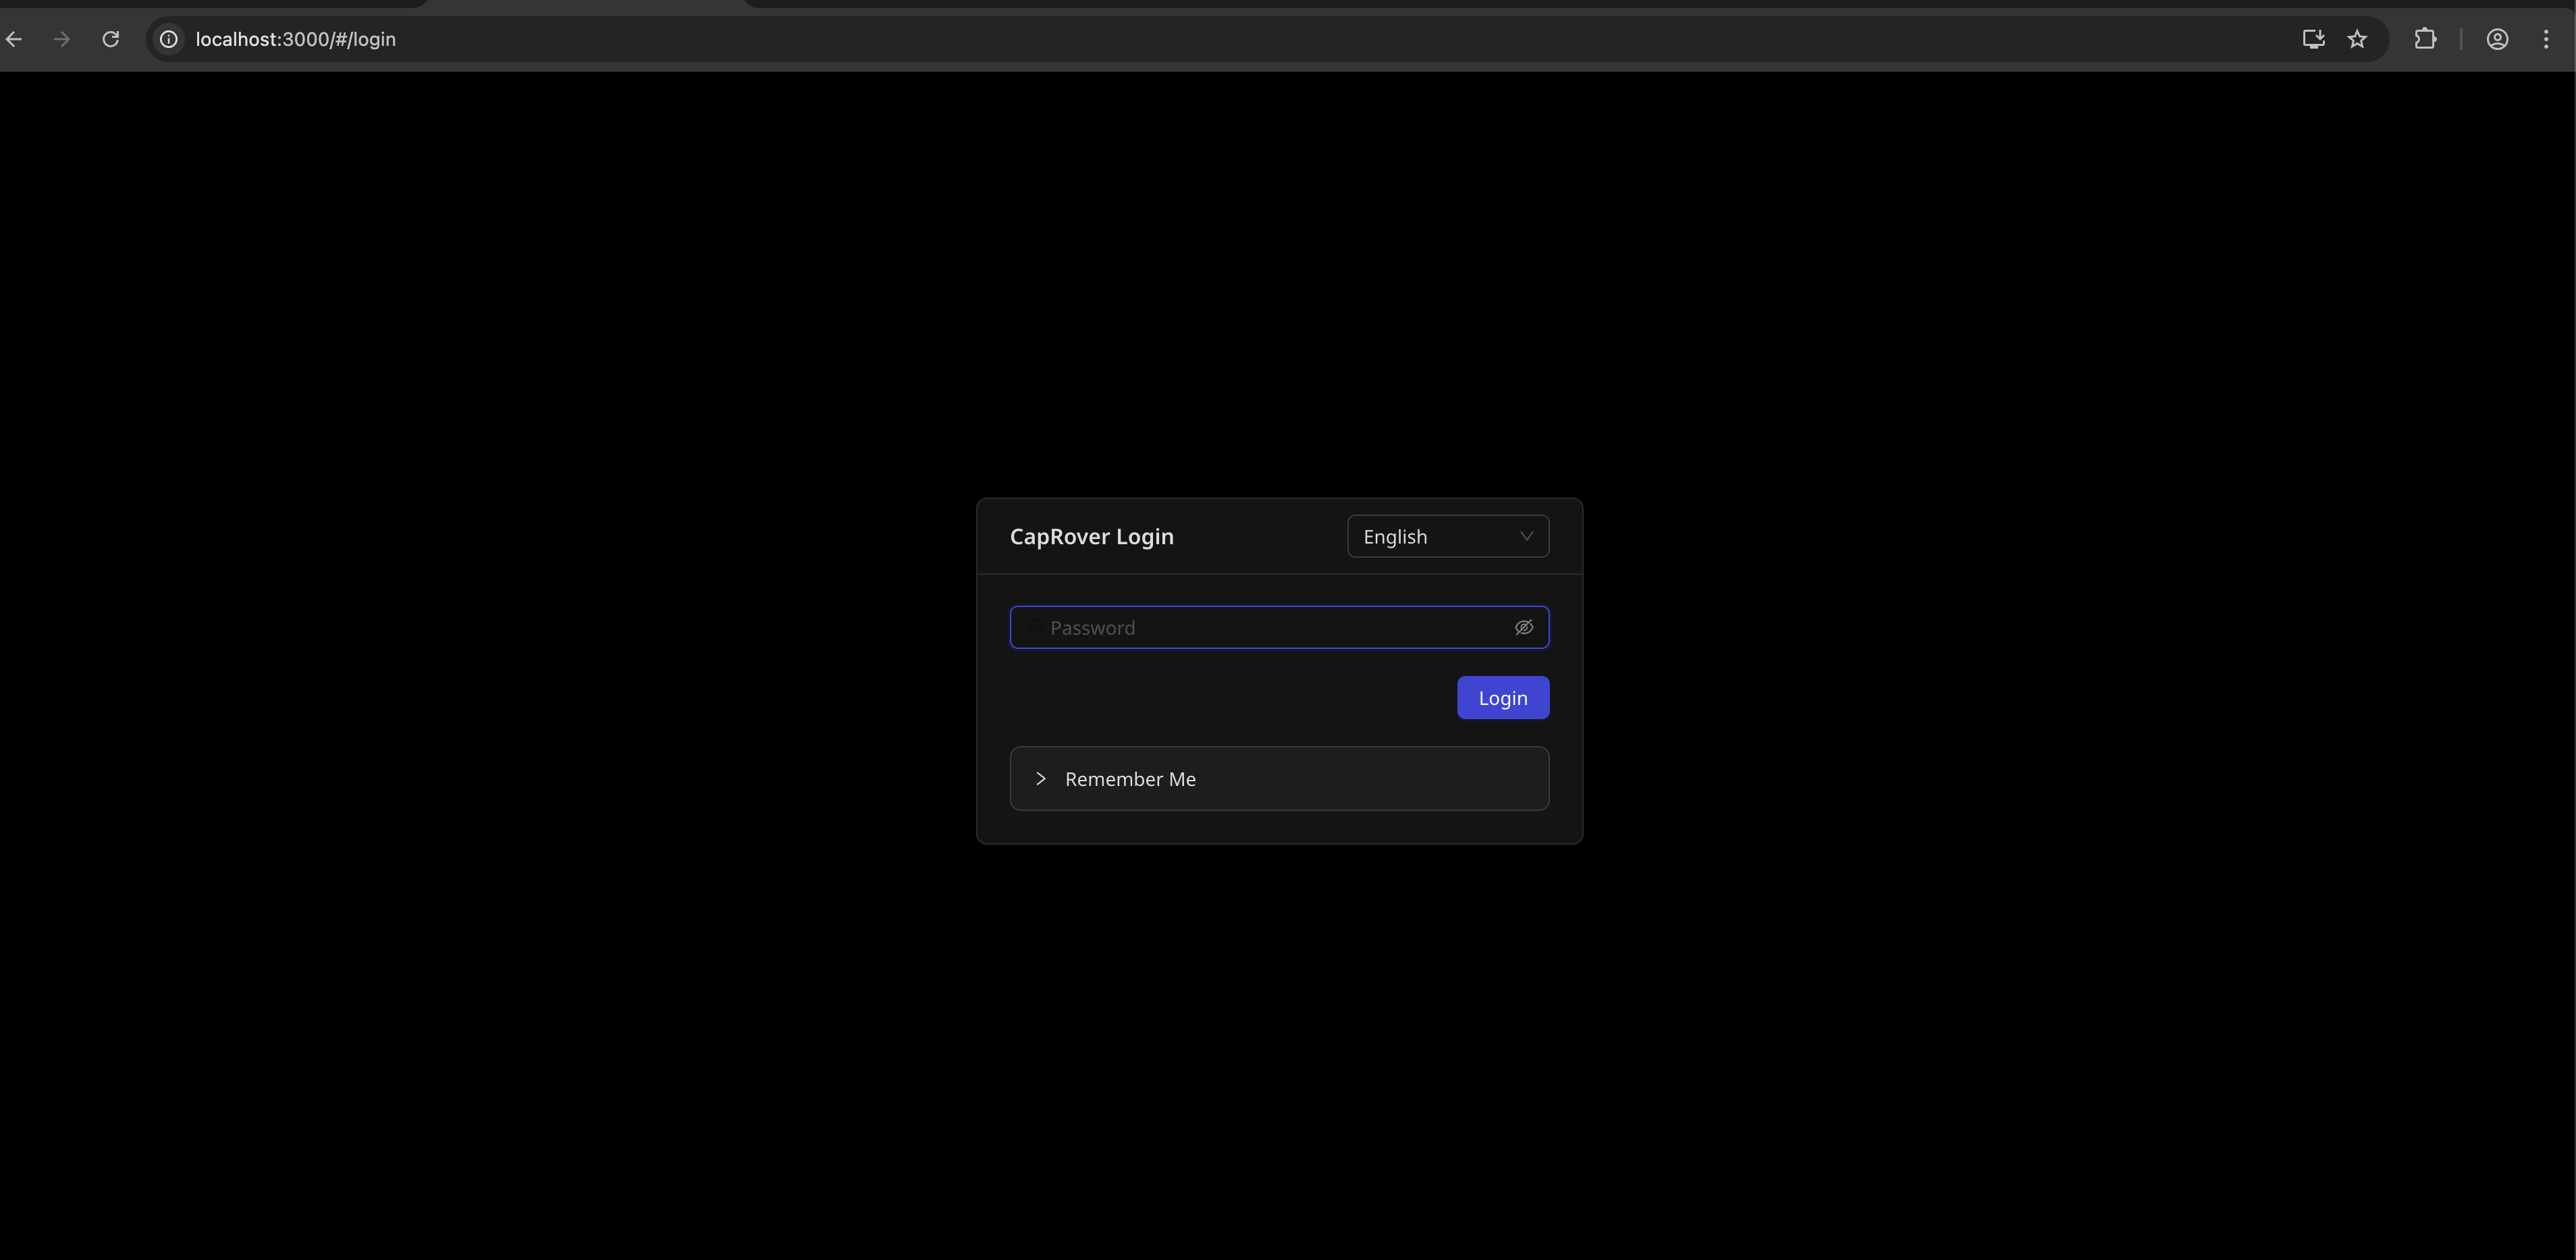
navigate to:
http://localhost:3000
and in settings change the administrator password.
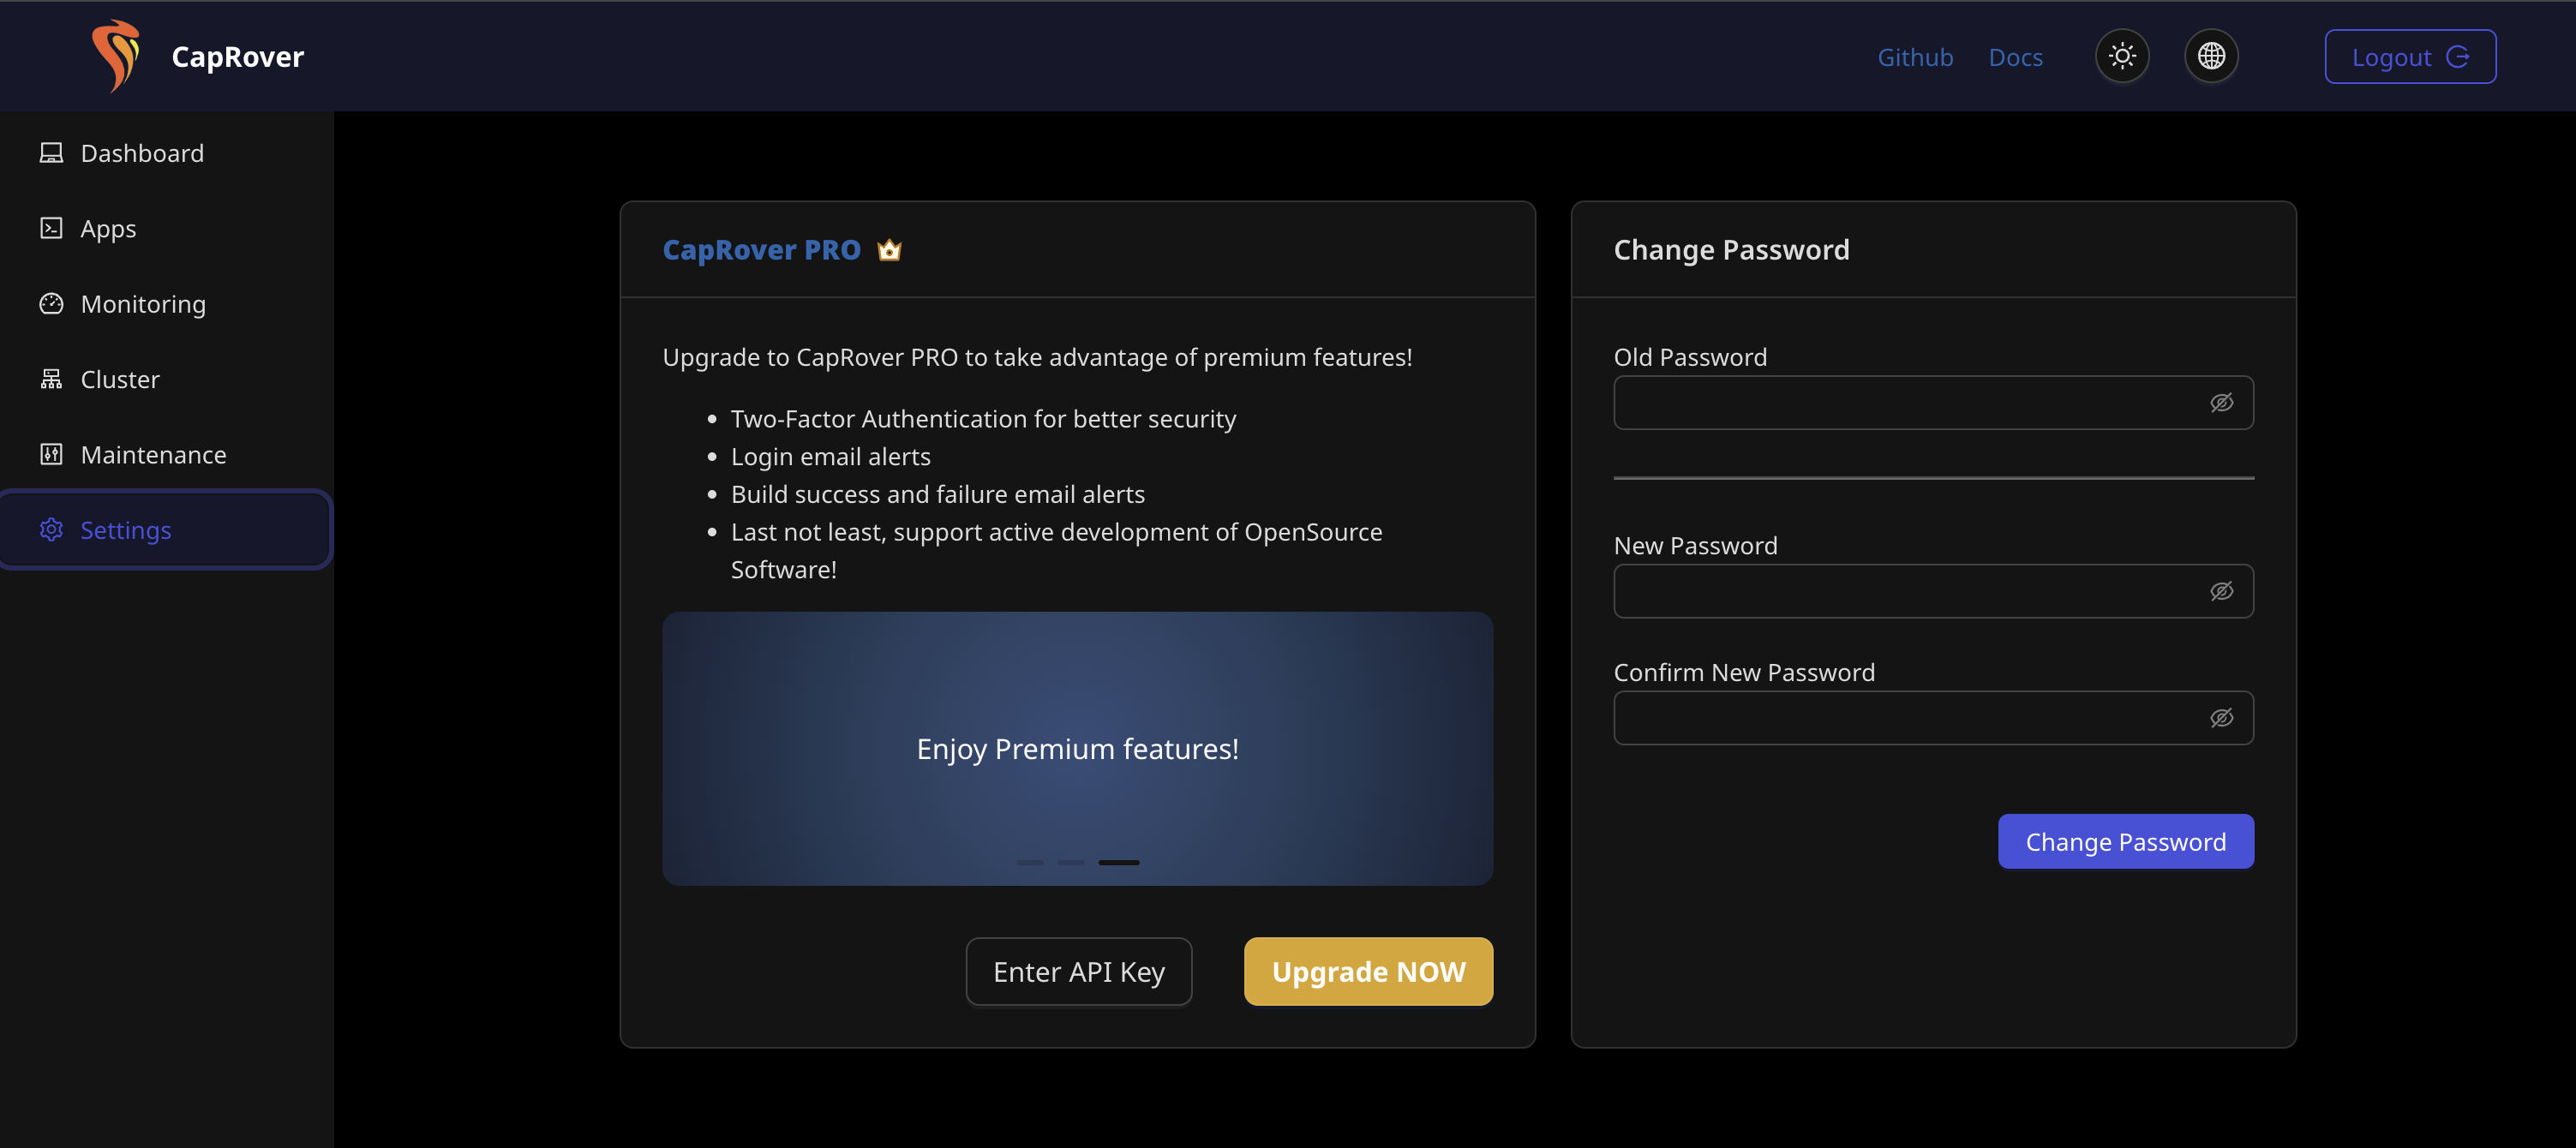
Congratulations! Your CapRover is configured to run on your local machine.
you can now install applications, deploy your own applications!
However, we want it to be accessible from everywhere!
Step seven - configure cloudflare
buy a domain name in cloudflare dashboard. This is the first thing you see when you sign in:
Now open your favourite terminal. Currently my favourite is warp:
https://www.warp.dev/
We now want to create our tunnel. This will open our CapRover instance to the world. So please go back and ensure you've set the admin password
cloudflared login
cloudflared tunnel create <INSERT_TUNNEL_NAME>
The above should spit out a tunnel-id
Create a cloudflare configuration file
tunnel: <INSERT_TUNNEL_NAME>
credentials-file: /home/your-user/.cloudflared/<tunnel-id>.json

ingress:
  - hostname: captain.<RECENTLY_PURCASED_DOMAIN_ON_CLOUDFLARE>.com
    service: http://localhost:3000 # CapRover admin panel
  - hostname: "*.<RECENTLY_PURCASED_DOMAIN_ON_CLOUDFLARE>.com"
    service: http://localhost # CapRover apps
  - service: http_status:404
Create a DNS record pointing to the tunnel
cloudflared tunnel route dns <INSERT_TUNNEL_NAME> captain.<RECENTLY_PURCHASED_DOMAIN>.com
cloudflared tunnel run <INSERT_TUNNEL_NAME>
Now you're accessible from everywhere
go to
https://captain.<RECENTLY_PURCHASED_DOMAIN>.com
Step eight - configure CapRover nginx subdomains
However, our applications use subdomains in this format:
https://<my-app-name>.<RECENTLY_PURCHASED_DOMAIN>.com
navigate to the settings page:
https://captain.<RECENTLY_PURCHASED_DOMAIN>.com/#/settings
Load the nginx configuration and edit this file:
CapRover Config Location in nginx container: /etc/nginx/conf.d/captain-root.conf
Add this block, swapping out the recently purchased domain variable for your domain:
 server {
    listen 80;
    server_name ~^(?<subdomain>[^.]+)\.<RECENTLY_PURCHASED_DOMAIN>\.com$;

    resolver 127.0.0.11 valid=10s;

    location / {
        set $upstream "http://srv-captain--$subdomain";

        if ($subdomain = "captain") {
            set $upstream "http://captain.localhost:3000";
        }

        proxy_pass $upstream;
        proxy_set_header Host $host;
        proxy_set_header X-Real-IP $remote_addr;
        proxy_set_header X-Forwarded-For $proxy_add_x_forwarded_for;
        proxy_set_header X-Forwarded-Proto $scheme;
    }
}
Ta-da done.
We can now deploy 1-click applications, or setup your own deployment pipelines for your own applications.
Next time, I'll look at self-hosting changedetection.io to monitor the price of supermarket products, for a supermarket that does not publish an API.